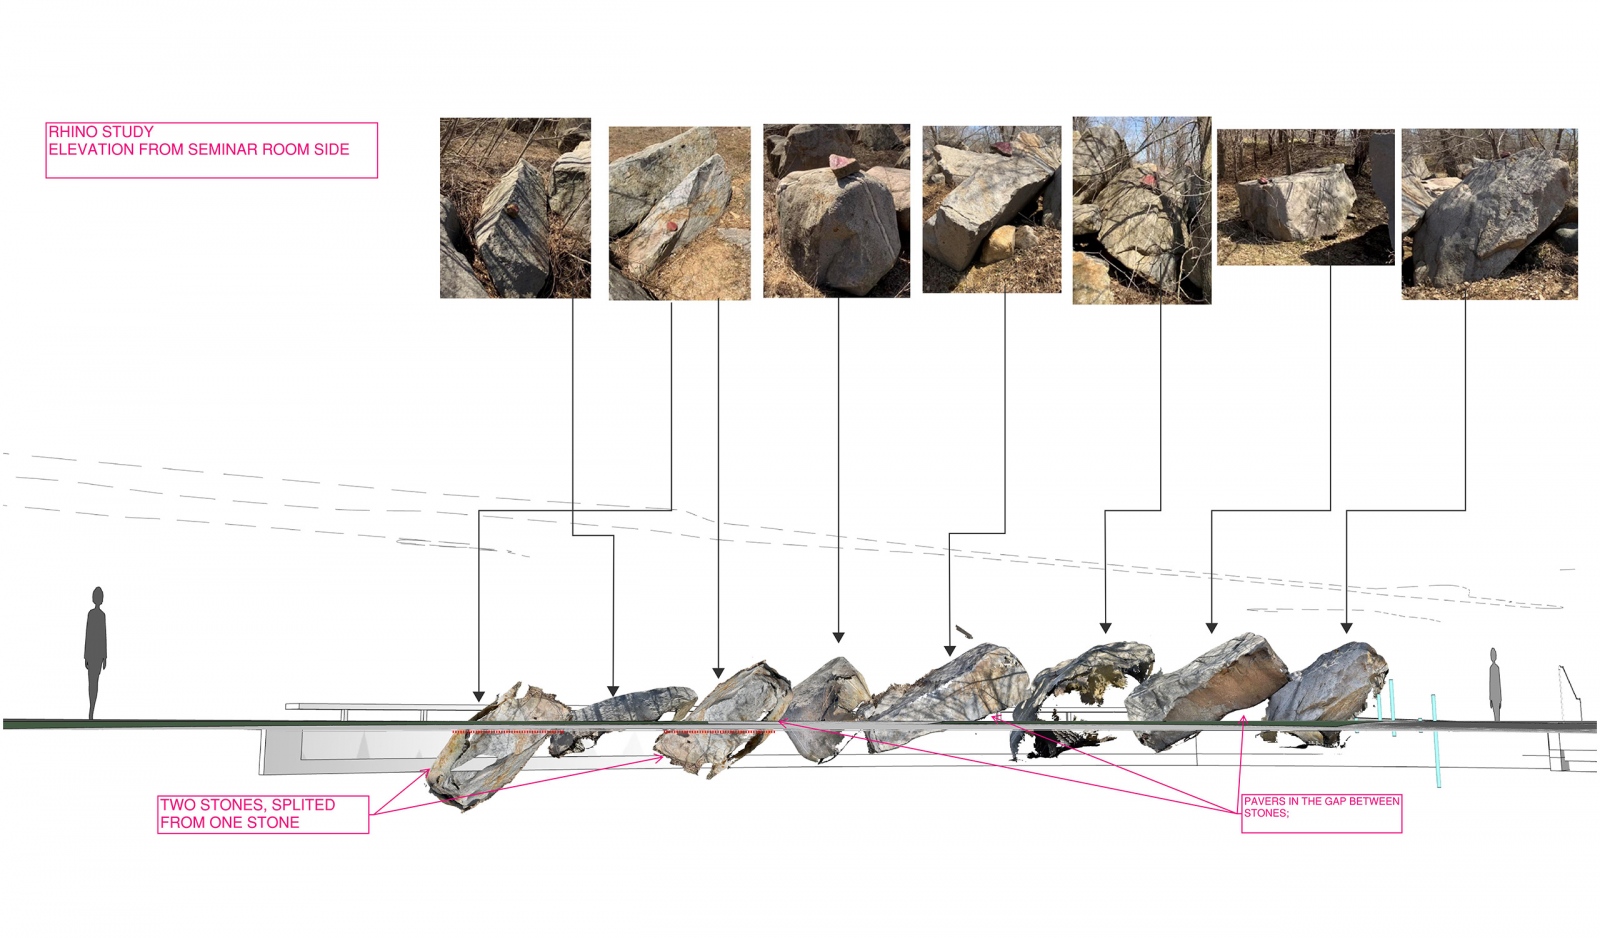
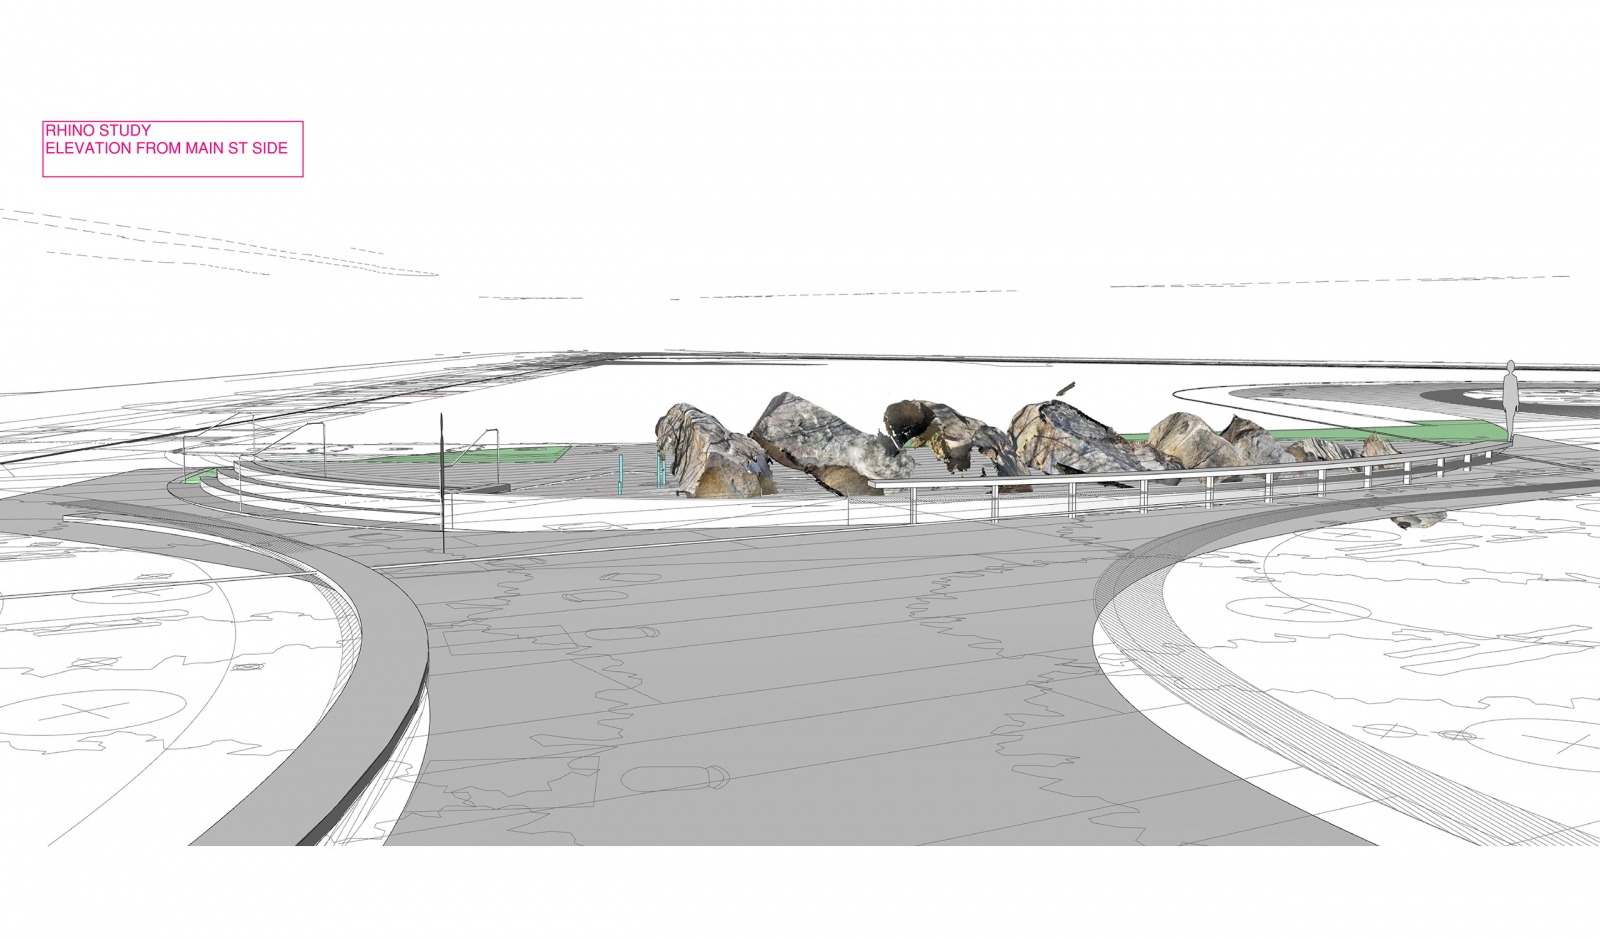
Recently, our team embarked on an intriguing exploration of integrating 3D LIDAR scanning into their design workflow when refining a water feature design.
Due to budget constraints, the design team explored alternative creative solutions during the CA phase, while preserving the essence of the original stone sculpture. The initial design involved a concrete core with curved grained stone veneer. After testing several potential materials and receiving pricing feedback from the contractor, the design team was drawn to the natural beauty and potential of a series of quarry unprocessed quarry stones strategically placed together, as it seems to gracefully embody the vision of the original concept.
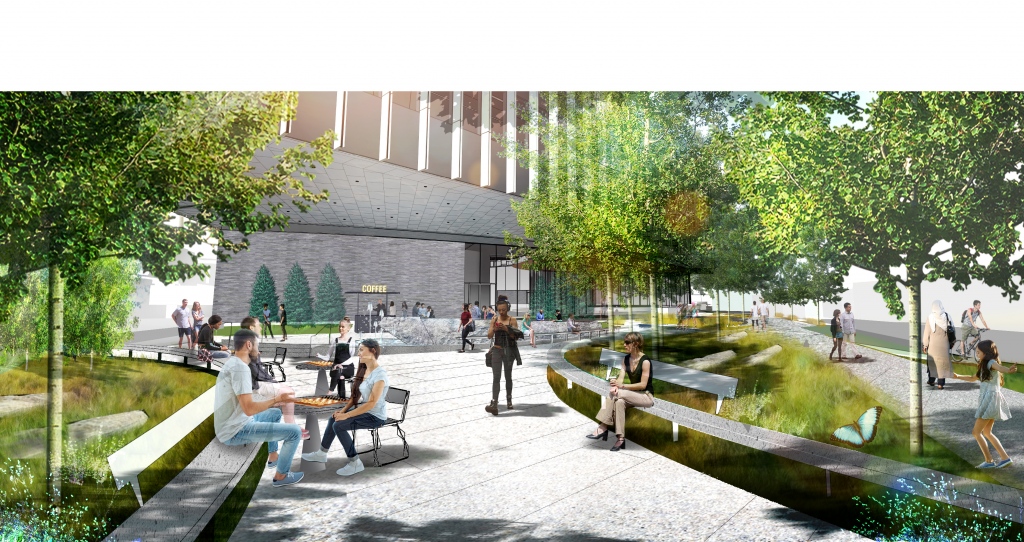
The fountain design rendering.
Tagging The Stones
Early in the spring, PAYETTE People Michael Hinchcliffe and Yu Pei visited the stone quarry in Minnesota to tag boulders. Additionally, they had the opportunity to tour the headquarters to gain a deeper understanding of the stone fabrication process.
At the operating stone yard, they were greeted by an overwhelming sight—an ocean of stones, each with its own unique shape and size.
Considering the sculpture’s original sweeping gesture, specific height and weight requirements were crucial for each stone’s placement. With meticulous on-site measurements, constant sketching, double-checking the dimensions on the iPad, and a little bit of luck, they successfully selected seven stones and determined their sequence in the sculpture.
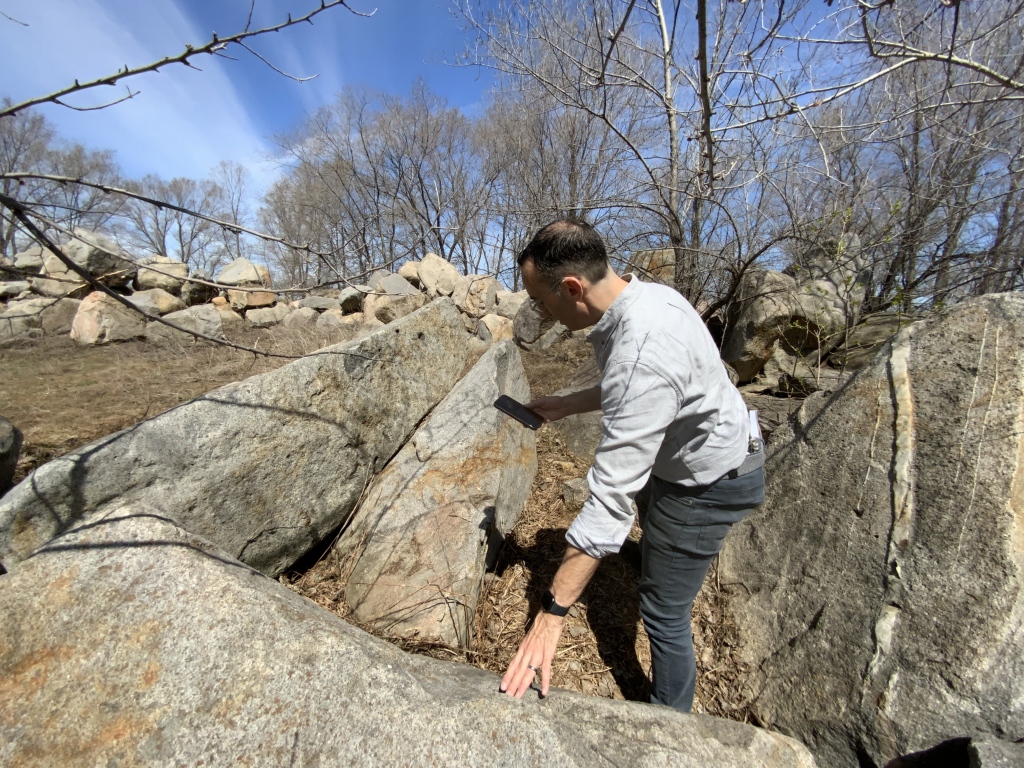
A 3D LIDAR scanning app was used to capture the geometry of each individual stone as accurately as possible.
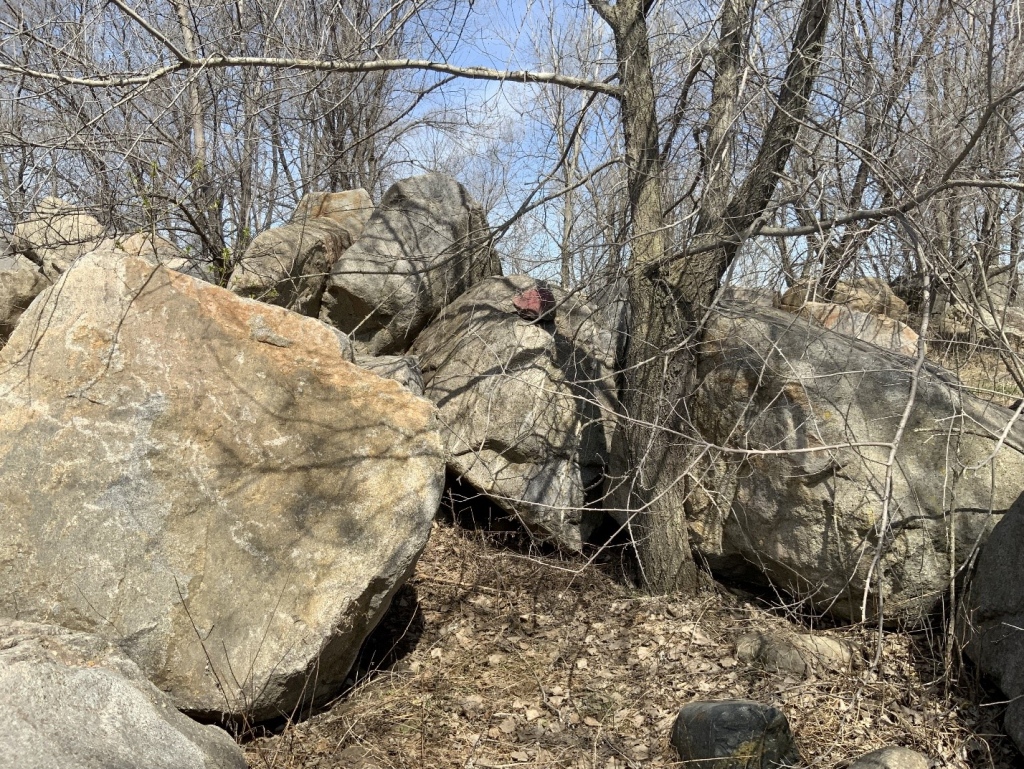
“Cherry on the cake!” – Each stone was marked with a loose red painted stone to avoid direct paint on the pieces.
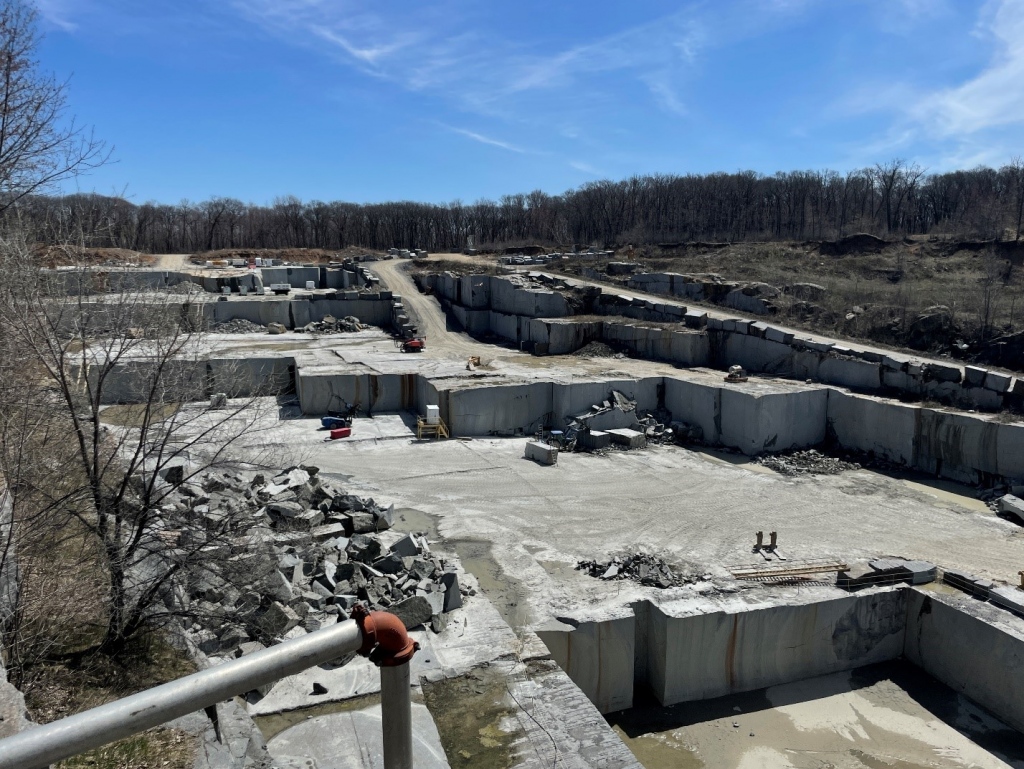
View of the Charcoal Black Quarry.
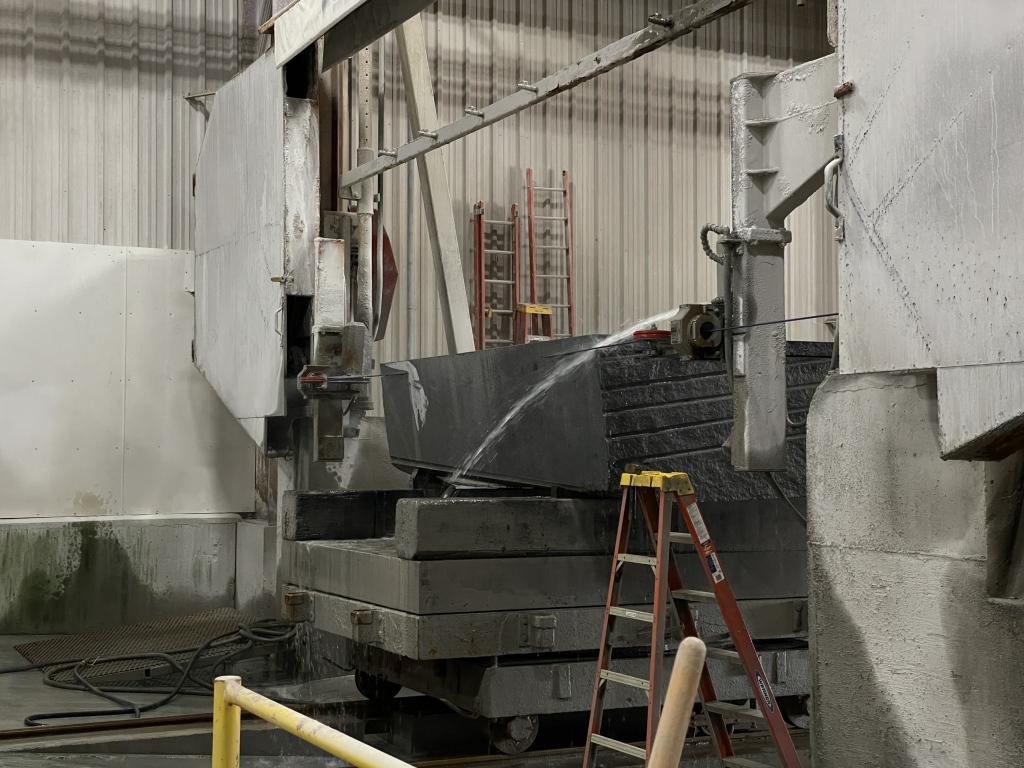
During the factory tour, the team witnessed various machines and stone working methodologies. Here, a machine cuts a thin slice from the top of a stone piece.
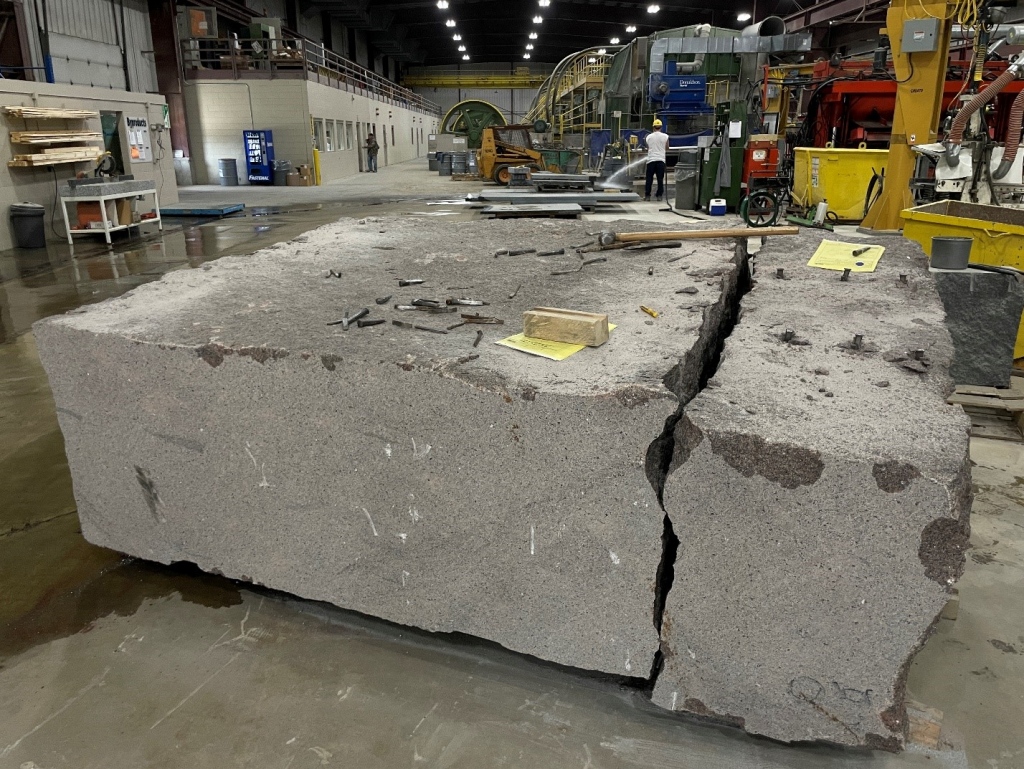
A piece of stone in the factory undergoes the hand splitting process.
Fabricating the “Stones” and Modeling
With the stones selected, the design team tested the configuration using Rhino but also went a step further, creating a physical model at 1/2″ scale. The original 3D scan exports lacked a continuous surface, so the fabrication team used Grasshopper to simulate and refine the geometry before milling the “stones” with high-density foam.
The final model was well received by the team and played a crucial role in the CA coordination with different trades!
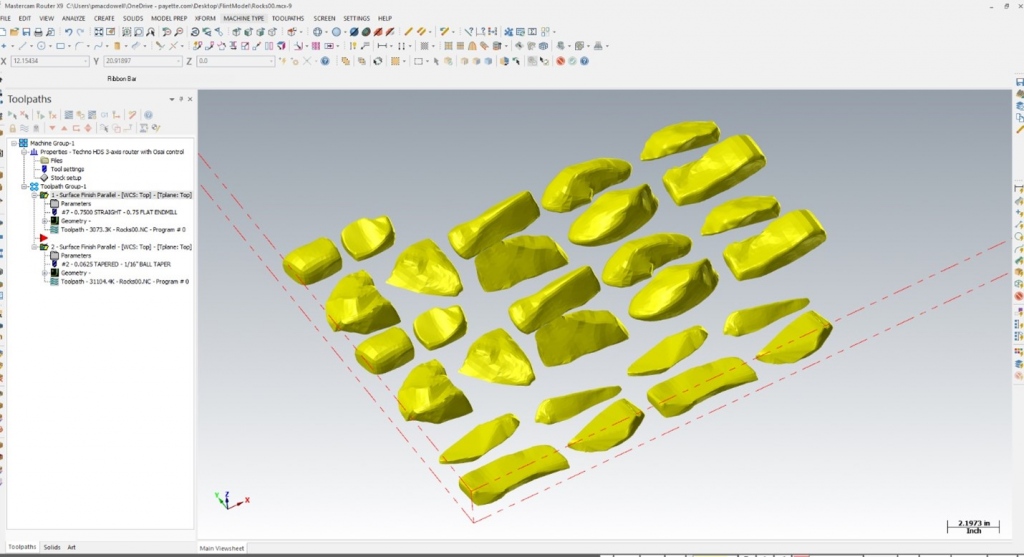
Stone 3D views ready for milling.
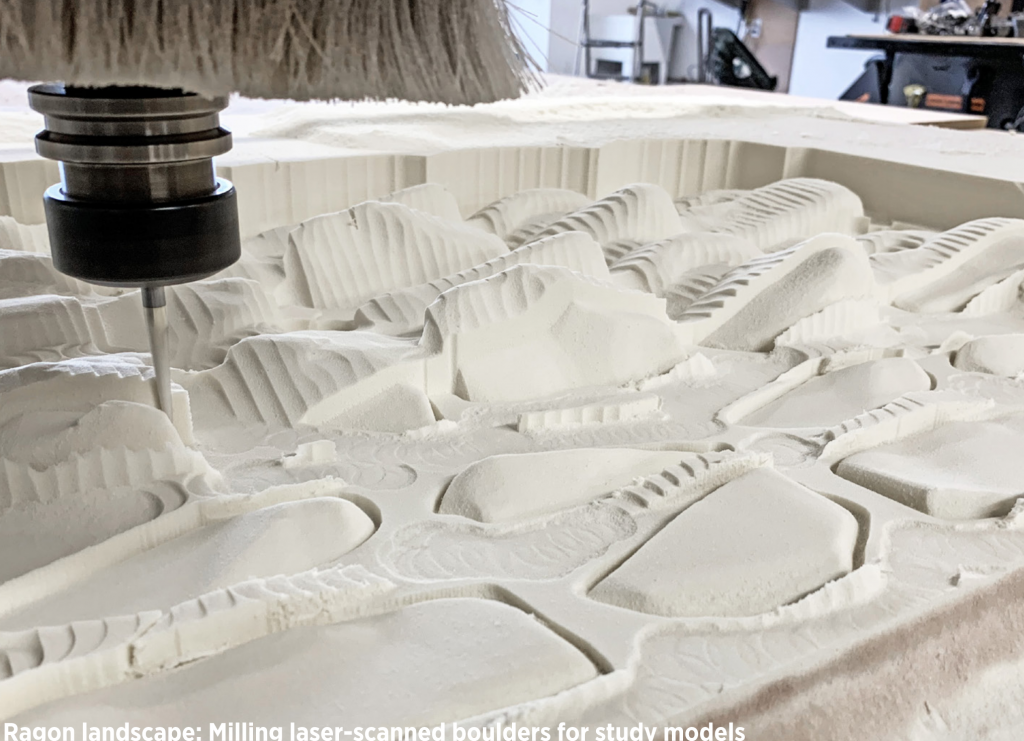
The milling process.
Rhino model studies and Bluebeam notes for coordination.
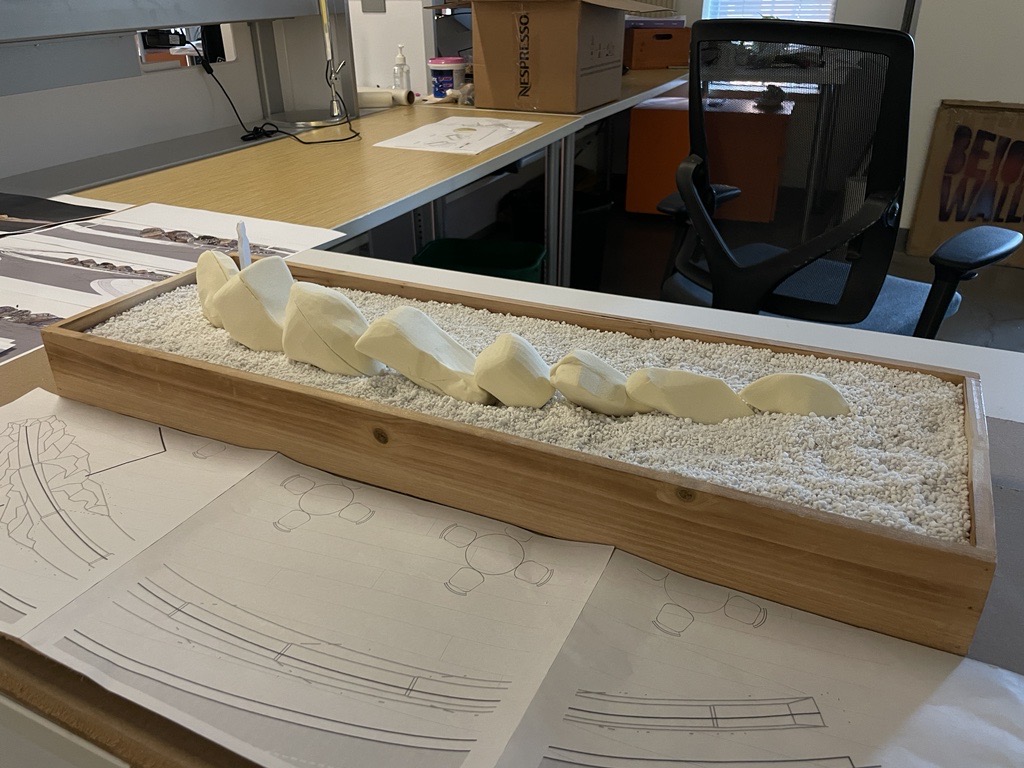
To simplify the iteration process, Yu built a wood tray filled with Perlite. This approach minimized the need for cutting the fabricated stones and provided flexibility to explore various embedment’s and combinations with ease.

