If you pass by 815 Columbus Avenue in Boston, you will see Northeastern University’s EXP fully under construction – cores erected and steel going up (quickly at that!). While construction continues full steam ahead, the design team recently wrapped up a fast and intense design charrette for the building’s 8th floor Event Space.
Urgent Re-design
The 8th floor of EXP is programmatically unlike any other spaces in the building and differs from the types of spaces PAYETTE most commonly designs. One of the main programs on this floor is a 4,600 SF Event Space, adjacent to a large roof deck, that is meant to host a range of functions from day-to-day lounge seating to fully catered dinners.
Northeastern recently challenged us to move away from the wood slat ceiling that matched the Level 2 ceiling and instead give the Event Space its own, fresh identity.
Early Studies
Because the wood slat ceiling had felt appropriate for the space, we took it for granted and perhaps did not push ourselves to re-evaluate our material selection. Now, with time NOT on our side and the client eager to see new ideas, we needed to invent a wholly special ceiling for this wholly special space. So, invent we did! But not right away.
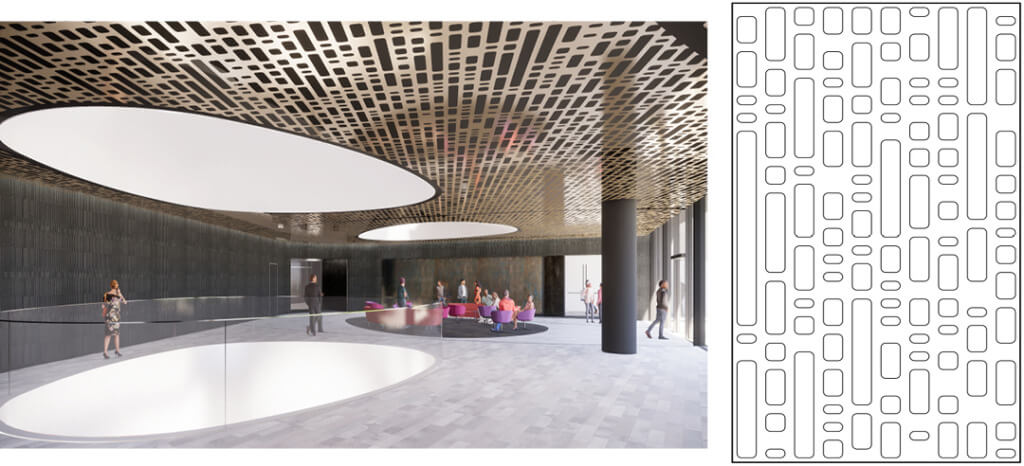
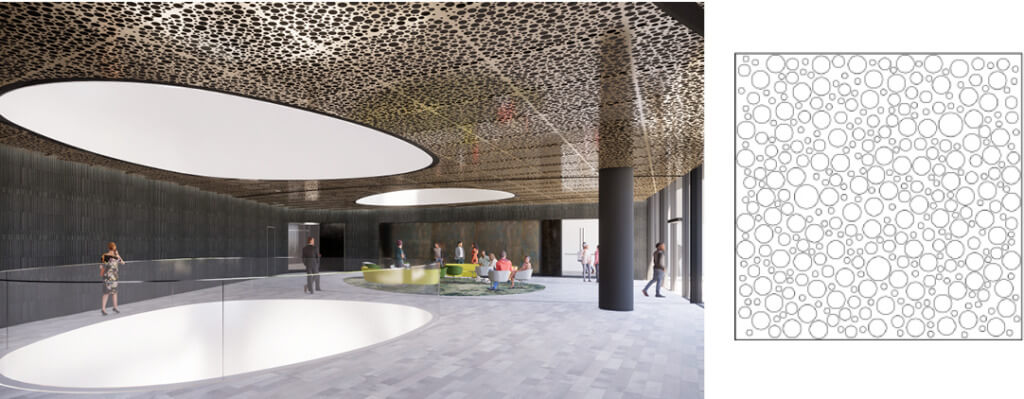
We first looked to other PAYETTE projects for inspiration. Our earliest studies, below, borrowed perforated patterns from PedX and The 105 by Breakthrough. While we were excited by the shift to a metal panel system, the team did not like the directionality and visibility of the grid in a space with curved walls and ceiling features. Our next challenge was to create a more non-directional perforation pattern.

Rectangular perforations based on PEDX

Circle perforations based on The Breakthrough by 105
Towards a Non-Direction
We quickly understood that the need to keep perforations away from the panel edges for fabrication reasons also called attention to the edges. To eliminate the visibility of the edges, we developed a grid that took into account how the panels would array and made the perimeter grid 1/2 the width of the internal grid (Step 1 below). These “no-cut” zones ensured we had enough material to retain rigidity as well as a uniform grid when repeated. Next, to create the perforations, each square (blue in Step 1) was sub-divided into a 9-square grid. Using a basic Rhino script, we randomly removed X% of the 9-square grid to create a perforation pattern (Step 2). Finally, we did a little post-production and rounded the edges of each shape (Step 3). While the steps are quite simple, we did numerous studies and iterations to reach our final grid, openness percentage, and panel size.
Satisfied with our design (non-)direction, we knew we had to immediately reach out to a team of fabricators. Simultaneously, we used our fabrication shop to build 1:1 study models of the panel and perforation patterns.

Diagram of panel grid and randomly removed sub-grid

Left to Right: Chipboard study model; Spraypainted acrylic model; Full 30″x 30″ panel model; Testing lighting with full panel
USG Collaboration
Talking to USG as early as we did was key to our success. There were two takeaways from our first conversations that were absolutely critical to our design process and giving us the confidence that our pattern was viable.
First, while we originally thought a 48” x 48” panel would work well for our project, we were quickly advised that a 30” x 30” panel would minimize deflection and material waste for all the trimmed panels. Easy decision made.
Secondly, we also learned that the most efficient way to fabricate a ceiling of this size and with so many perforations is to use a die cutting process (opposed to a waterjet or laser). However, the typical shapes were smaller than we wanted and also normative – circles and squares. How could we avoid purchasing 20+ custom dies? Upon closer inspection, we realized that all the panel perforations could be generated by overlapping and rotating just 3 shapes. The fabrication method was approved by USG and the team breathed a collective sigh of relief – our custom design could be fabricated and would not be cost prohibitive.
Example of 2 punch shapes creating one panel perforation

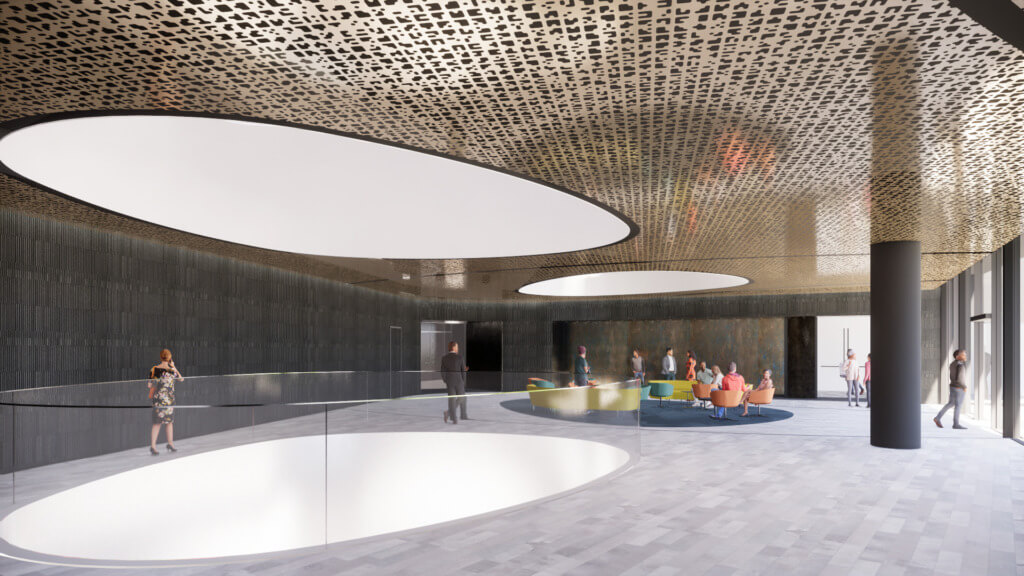
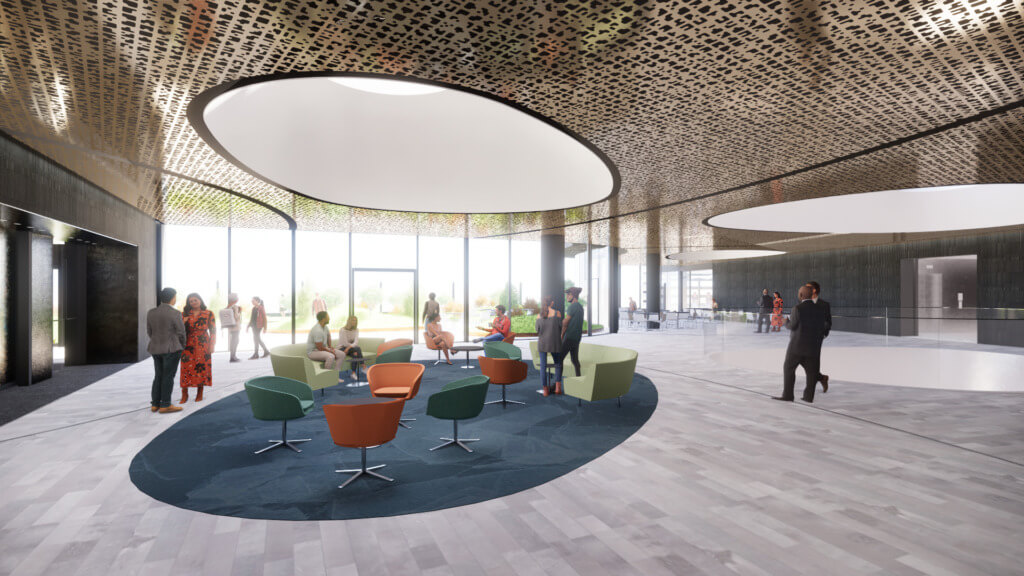
New non-directional perforation pattern presented to Northeastern University

New non-directional perforation pattern presented to Northeastern University
Lessons Learned
With a nudge from our client, we were able to design a ceiling that didn’t just “work” with the building’s palette. Instead, by rethinking the ceiling and working closely with the PAYETTE fabrication team, we developed a new take on a perforated metal panel ceiling that gives the Event Space a unique material presence in the building and communicates the truly special nature of this location on the Northeastern campus.

