Recently, I had the opportunity to present at the BSA Healthcare Facilities Knowledge Community with other healthcare design leaders from Isgenuity, SmithGroup, NBBJ and Shepley Bulfinch. Participants were invited to give a short presentation on a compelling project and I chose the Massachusetts General Imaging Clinic currently under construction at Assembly Row in Somerville, focusing on how we used a variety of visualization tools to communicate the proposed design to the client/users. These tools were especially helpful during a physical, walk-through mock-up where we utilized an application developed by the design team to view virtual space within the physical mock-up environment – through the lens of an iPad. I selected this project to highlight the importance of visualizations and technology in architectural practice, and how we as designers can better inform design using physical and digital mock-ups.
The Site: Assembly Row
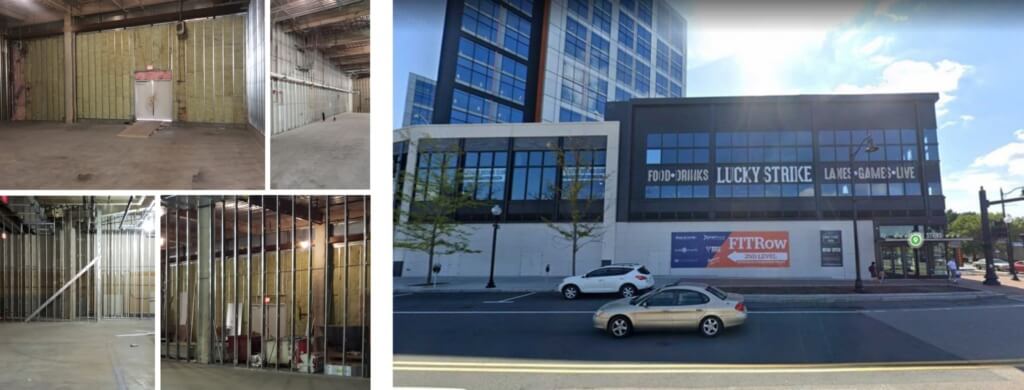
I started the presentation with an introduction to the project site at Assembly Row, which is a mixed-use development with housing, restaurants and shops The 8,000 square foot imaging clinic will be constructed in a tenant space at the base of the Mass General Brigham tower. An added challenge to the project is the fact that the space is located directly below the Lucky Strike bowling alley and arcade, and TITLE boxing gym. The noise and vibration from these two tenants are less than ideal for MRI machines, but the design of fully considers these issues. The existing space is a shelled interior with twenty-foot high floor to floor dimensions. I have worked on many renovation projects and this floor to ceiling height coupled with the fact that almost everything in the space was exposed, were welcome conditions to start with.
Planning + Design: A Prototype for MGH Imaging
The presentation started with a brief introduction to the site and the existing conditions, followed by a walk-through of the floor plan. A large reception and waiting space (MRI Safety Zone II) is located off the main sidewalk. The waiting area leads to a changing suite and gowned waiting (MRI Safety Zone II), and the MRI suite is accessed from there. The MRI Suite is comprised of three 3T MRIs with associated control rooms and equipment rooms, as well as four prep rooms with a nurse station between them.
The MRI Suite was designed to be a new prototype for all imaging operations for MGH. Patients will move from the changing suite into the MRI suite to be prepped in one of the four prep rooms. Once the patient is prepped, they are then wheeled on a mobile MRI table through the suite corridor into one of the three MRI Scanner Rooms. After the scanning, the patient is then wheeled back into one of the open prep rooms. In theory, tables will be flowing back and forth without any backlog.
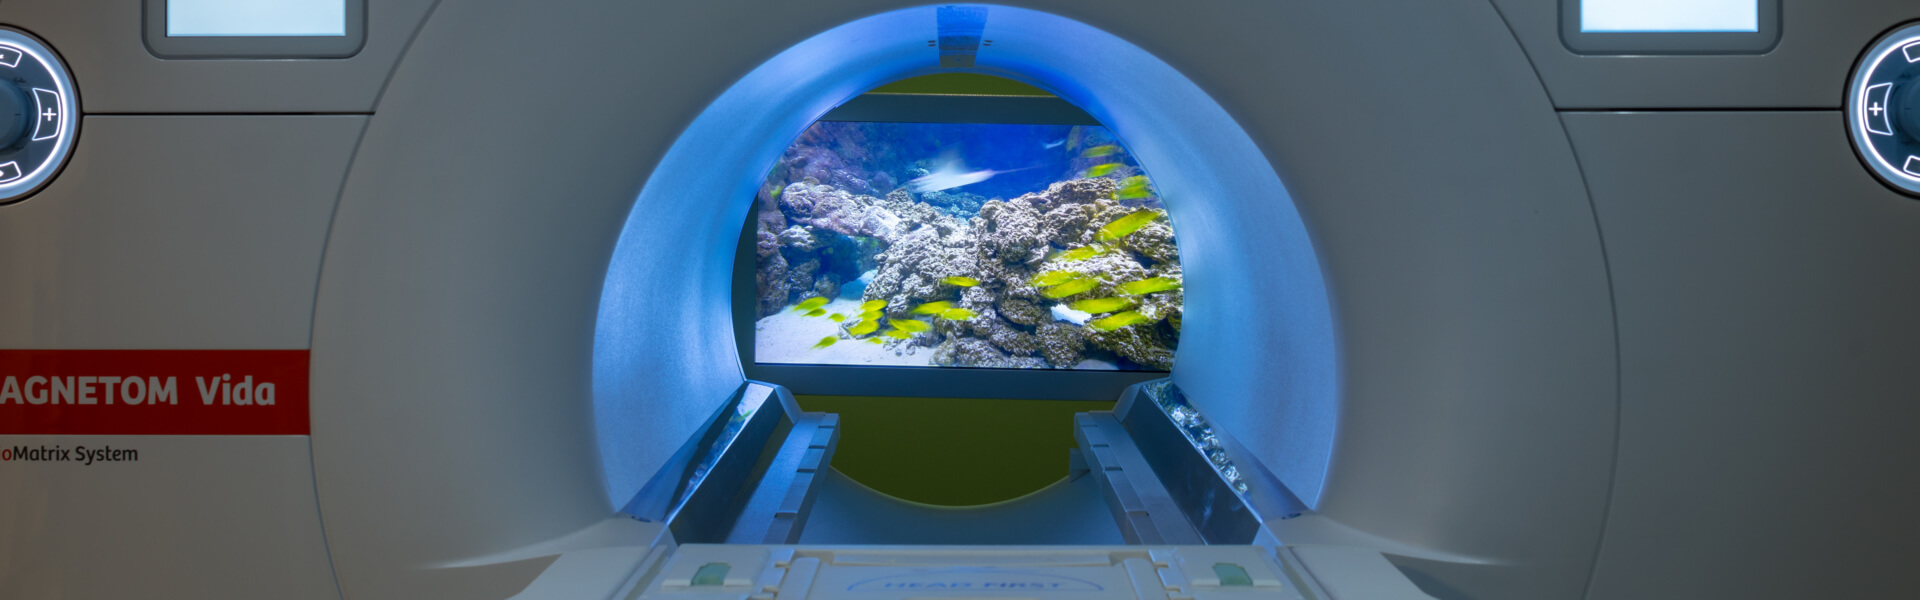
The design for this MRI Scanner Room is different from what we typically do for these spaces. We decided to celebrate the expansive floor to floor height by creating an architectural “pop” within the ceiling. Curved prism forms within the ceiling emphasize the complexity of radiology equipment, while their eased edges soften the ambient experience. Rather than a backlit still image that is typical in MRI ceilings, the innermost surface of the prism is a backlit fabric material. Each MRI space has a different “pop” design, creating a unique experience for staff and patients.
Visualization Tools: Physical and Digital Mock-Ups
We used different types of physical and digital mock-ups to inform the design of this project In January, we held a project showing in the actual space where we utilized visualization stations that combined physical and digital mock-ups for the team and client to experience.
Physical Key Room Mockups
One issue that needed to be resolved using a physical mock-up, was defining the corridor width required to comfortably move patients between prep rooms and MRI rooms. We acquired a ‘fake’ MRI with a real working mobile table to test moving patients back and forth through the suite corridor. This invaluable exercise confirmed the corridors needed to be ten feet wide.
Physical Interior Detail Mockup
Bryant Watson, PAYETTE Associate, designed a casework mock-up to test a hands-free method for throwing away trash and linen. A foot pull was added at the toe kick allowing staff to open the drawer with their foot, eliminating the need for a hole in the counter – often an infection control issue as well as limiting usable counter space. The users loved this idea and the design team incorporated it into all three MRI Scanner rooms.
Physical Exterior Detail Mockup
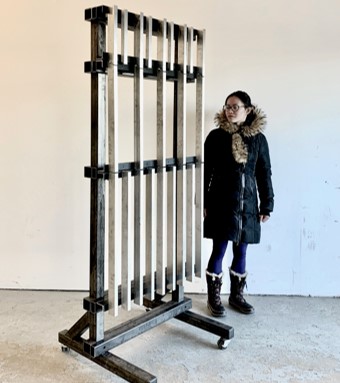
Holly Jin, PAYETTE Designer, helped design and build a mock-up for the project’s storefront exterior fins – designed to let in light yet create privacy for the waiting room. This mock-up was a great tool and allowed for a person to be on either side of the window to test whether the spacing of the fins realized the design intent. The group determined that the proposed density of the fins worked, achieving the desired balance between privacy, views and natural light. The design team continued using the mock-up to develop the architectural details for attaching the fins to the storefront and the fins were subsequently painted various tones to help determine final color selection.
360 Degree Panorama Renderings
Generating a 360 degree Panorama Image from Enscape, enabled us to view a rendered space from a single standing point – pivoting 360 degrees around that point. This tool was an excellent way to communicate the ceiling design options. During the January showing, we had QR codes posted throughout the space so anyone with a smart phone could view the rendered space on their phones from that location.
Augmented Reality Walkthroughs
Luke Gehron, PAYETTE Lead Computational Designer, and I developed an iPad application that uses a viewer’s location in the space to view the digital model we created for an augmented reality experience. After developing a prototype for user meetings, Luke and I further developed the UX/UI for the application that will (in theory) work across all of PAYETTE’s projects.
Virtual Reality Walkthroughs
Utilizing Enscape further, we were able to transport viewers into the digital model where they could explore every inch of the design. When using virtual walkthroughs, the digital model needs to be modelled accurately, with the appropriate materials, because any questions or issues can be a distraction and potentially derail a meeting.
In Conclusion: A Hypothetical Question
Unfortunately, due to time constraints at the BSA event, we were not able to take questions; I, however, thought of one for myself: Which is more beneficial, digital or physical mock-ups? My cop-out answer is that it really depends on the project. Time, financial and spatial constraints are all factors when deciding what type mock-up to use. We were fortunate that the stars aligned on this project, allowing us to use so many different types.
The current environment we find ourselves in with COVID-19, digital mock-ups are becoming the more viable and safer solutions for our projects. But there are challenges with sharing a VR headset, most specifically the cleanability of the headset. Even if you could guarantee that the headset was free of germs after being used, there is a psychological element about safety that might keep someone from wanting to use the headset. Weighing this, an augmented reality app might be better, but it does require a large space to physically walk through which is a limiting factor. And it is ultimately most beneficial when used in the actual space where a project is being constructed.
That being said, I believe the 360 panoramas and use of QR codes are the more powerful tools in this digital environment. For the MGH project, we were even able to send the QR codes to the client throughout the design process because QR codes can be scanned directly from the computer screen. This made it easier to send multiple renderings with more information, without worrying too much about file sizes. People can then use their personal devices to view the rendered space, which further enables us to practice social distancing in the COVID-19 era while still moving our projects forward.

Recent spatial studies on the act of arrival.
#artofmaking #designalways